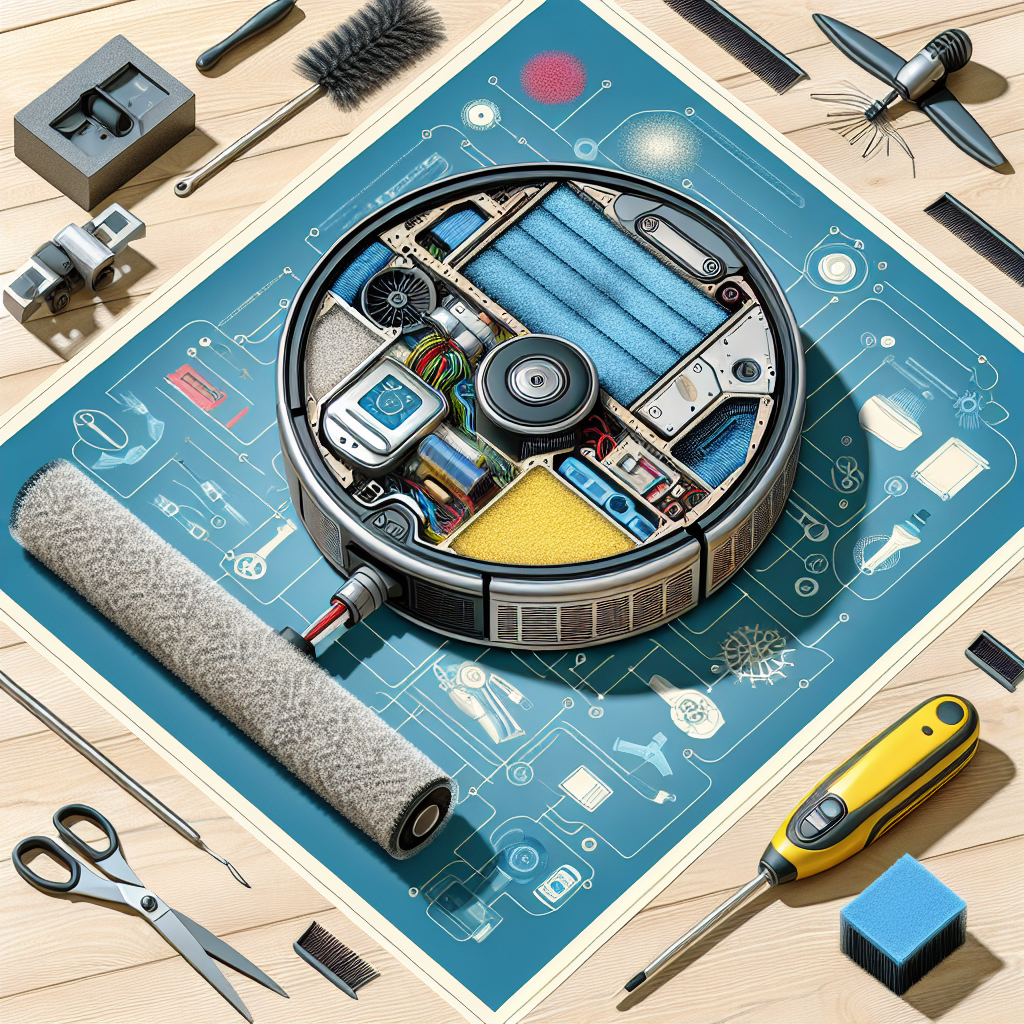
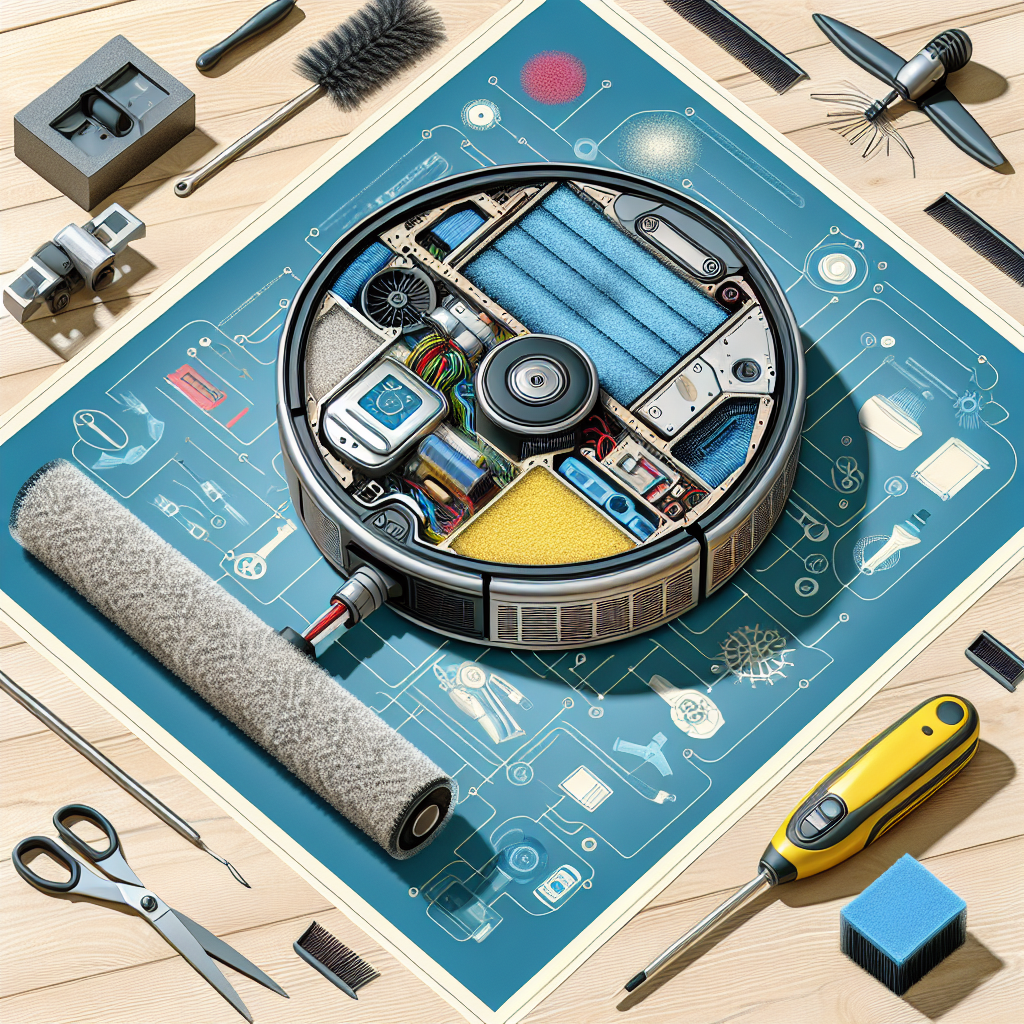
So you’ve just invested in a Roomba i3+ and you’re already loving the convenience it brings to your cleaning routine. But, you’ve noticed that the performance of your robot is starting to decline. Chances are, your Roomba filter is in need of a good cleaning. In this article, we’ll guide you through the simple and effective steps to clean the Roomba filter i3+, ensuring that your robot continues to deliver optimal cleaning results. Say goodbye to dust and debris, and welcome back the efficiency of your Roomba i3+!
Preparing to Clean Roomba Filter
Before you dive into cleaning your Roomba filter, it’s important to gather the necessary materials. You’ll need a clean, dry cloth, mild soap, warm water, and of course, your Roomba! Having these items handy will make the process much smoother and more efficient.
To ensure your safety, make sure to turn off and unplug your Roomba before you start cleaning its filter. This will prevent any accidental injuries and avoid unnecessary damage to the device. Safety should always be a priority when dealing with any electronic appliance.
Next, you’ll need to access the filter. Depending on the model of your Roomba, the location may vary. Consult the user manual or follow the manufacturer’s instructions to find out how to access the filter. Usually, it can be found in the dustbin area of the Roomba.
Removing the Filter
To get started with cleaning your Roomba filter, you’ll first need to open the dustbin. This can usually be done by pressing a button or flipping a latch, depending on the specific model. Once the dustbin is open, you’ll have clear access to the filter.
Locate the filter inside the dustbin and carefully remove it. Be cautious not to damage the filter or any surrounding parts during this process. Take a moment to inspect the filter for dirt and debris accumulation. This will give you a better idea of how thorough your cleaning needs to be.
Cleaning the Filter
Now that you have the filter in your hands, it’s time to give it a good clean. Start by tapping the filter gently to remove any loose debris. This will help to dislodge any larger particles such as dust or hair.
After tapping, you can rinse the filter under running water. Make sure to use lukewarm water for this step. Avoid using hot water, as it may cause damage to the filter material. The water pressure will help to flush out any remaining dirt, leaving your filter clean and fresh.
In some cases, the filter may still have stubborn stains or debris stuck to it. If that’s the case, gently scrub the filter with a soft brush or toothbrush using mild soap. Be careful not to scrub too vigorously, as this could damage the delicate filter material.
Once you’re satisfied with the cleanliness of the filter, it’s time to let it air dry. Find a well-ventilated area and place the filter on a clean, dry surface. Allow it to air dry completely before moving on to the next step. This typically takes a few hours, but it’s essential to ensure the longevity of the filter.
Cleaning the Dustbin
While you wait for the filter to dry, it’s a good idea to clean the dustbin as well. Empty the dustbin into a garbage bag or bin, disposing of any dirt, dust, or debris collected by your Roomba. This will prevent any buildup in the dustbin and ensure optimal performance.
To clean the dustbin, use mild soap and warm water. Gently scrub the interior with a cloth or sponge to remove any leftover residue. Rinse the dustbin thoroughly, making sure to remove all traces of soap, as any leftover residue could affect the performance of your Roomba.
After rinsing, dry the dustbin thoroughly before reassembling it with the filter. This will prevent any moisture from accumulating inside and potentially causing damage to your Roomba.
Replacing the Filter
Once the filter is completely dry, you can proceed with reinserting it back into the dustbin. Ensure that the filter is properly aligned with the designated slot. Take your time to gently push it into place, making sure it sits securely.
With the filter in place, it’s time to secure the dustbin back into your Roomba. Follow the manufacturer’s instructions to ensure proper attachment. This step is crucial as it guarantees that the filter will function effectively and that your Roomba will work optimally.
Maintaining the Roomba Filter
Regular maintenance is key to keeping your Roomba filter in optimal condition. Set a cleaning schedule to ensure that you clean the filter at least once every month or as recommended by the manufacturer. By doing this, you’ll prevent excess dirt buildup and ensure that your Roomba performs at its best.
While cleaning the filter, take note of its performance. If you notice any decrease in suction power or if the Roomba is leaving behind visible debris, it may be time to replace the filter. Additionally, keep an eye out for any signs of damage, such as tears or holes. Damaged filters should be replaced immediately to avoid any further issues.
Tips and Warnings
When cleaning your Roomba filter, there are a few important tips and warnings to keep in mind. Firstly, avoid using harsh chemicals or cleaning agents. Stick to mild soap and warm water to prevent any damage to the filter material. Harsh chemicals can deteriorate the filter’s effectiveness and potentially harm your Roomba.
Additionally, never submerge the filter in water. While rinsing is necessary for cleaning, fully submerging the filter can damage the internal components. Stick to gentle rinsing to ensure the filter remains intact and functions properly.
It’s also essential to keep the filter away from direct sunlight. Prolonged exposure to sunlight can cause the filter material to degrade over time, reducing its efficiency. Store your Roomba and its filter in a cool, dry place to maintain its longevity.
Lastly, always handle the filter with care to prevent any unintentional damage. The filter is delicate, and rough handling can cause tears or holes, rendering it ineffective. Treat it gently and with respect to ensure its longevity and optimum performance.
Frequently Asked Questions
How often should I clean the Roomba filter?
It is recommended to clean the Roomba filter at least once a month, or more frequently if you have pets or your Roomba sees heavy use. Regular cleaning will help maintain its efficiency and keep your Roomba running smoothly.
Can I use a vacuum cleaner to clean the filter?
No, it is not advisable to use a vacuum cleaner to clean the Roomba filter. Vacuum cleaners are designed for larger debris and may cause damage to the filter. Stick to tapping, rinsing, and gentle scrubbing with mild soap and water.
What should I do if the filter is damaged?
If you notice any signs of damage, such as tears or holes in the filter, it is crucial to replace it immediately. Using a damaged filter can compromise the performance of your Roomba and may result in poor cleaning results. Purchase a new filter from the manufacturer or an authorized retailer to ensure compatibility and optimal performance.
Conclusion
Regularly cleaning your Roomba filter is essential for maintaining its optimal performance. By following these steps and incorporating a cleaning schedule into your routine, you’ll prolong the lifespan of the filter and ensure that your Roomba keeps your floors clean and debris-free. Remember to handle the filter with care, avoid harsh chemicals, and monitor its performance to ensure a long and successful partnership between you and your trusty Roomba.


