Are you tired of struggling with a full vacuum canister every time you clean your home? Look no further, because we have the solution for you! In this article, you will discover the simple and hassle-free method to empty your Dyson vacuum. Say goodbye to the days of messily discarding dirt and debris, and say hello to a more efficient and effective cleaning routine. With our easy-to-follow instructions, you’ll be able to empty your Dyson vacuum in no time, leaving it ready for your next cleaning session. So, let’s get started and make your cleaning experience a breeze!
Preparing to Empty the Dyson Vacuum
Before you begin the process of emptying your Dyson vacuum, there are a few steps you should take to ensure your safety and the efficiency of the cleaning process. Firstly, turn off the vacuum and unplug it from the power source. This prevents any accidental start-up while you are working on it.
Next, find a suitable location where you can comfortably empty the vacuum without making a mess. It is recommended to do this task in an area with a trash container nearby or over a large garbage bag to catch any debris that may fall during the process.
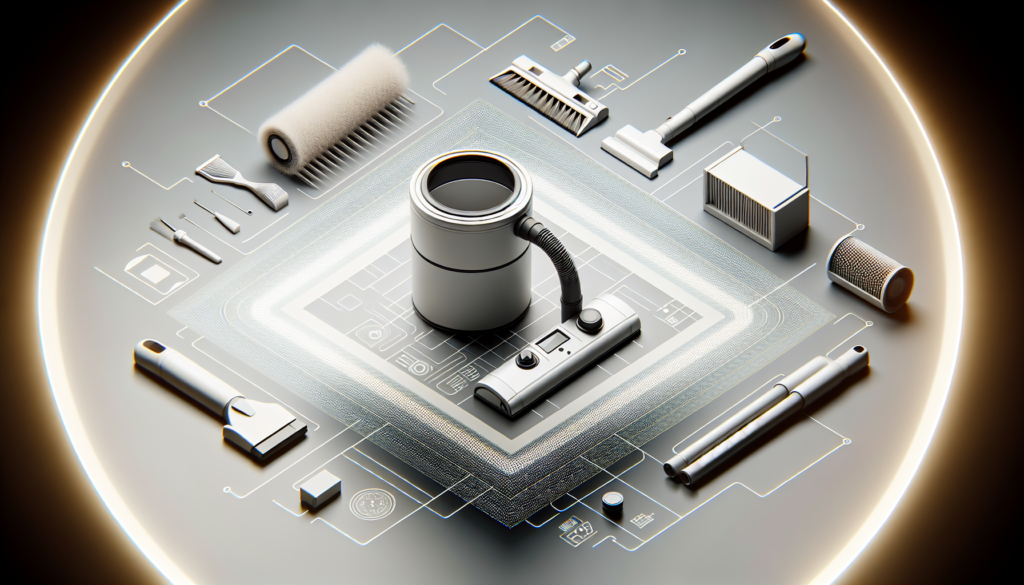
Lastly, gather all the necessary cleaning supplies you will need. This includes a small brush or tool to remove any trapped debris, a damp cloth to wipe down the vacuum and attachments, warm soapy water for cleaning the dust bin, and a designated waste disposal area for disposing of the collected debris.
Removing the Dust Bin
To begin emptying your Dyson vacuum, you’ll first need to locate the dust bin release button or latch. This is usually located on the top or side of the vacuum near the dust bin. Once you have found it, press or slide the release button or latch to unlock the dust bin.
With the release button or latch engaged, gently pull the dust bin away from the vacuum. Be cautious not to tilt it too much, as it may cause the debris to spill out. Hold the dust bin securely to avoid any accidental drops or messes.
Disposing of the Collected Debris
Once you have successfully removed the dust bin, it’s time to take it to a designated waste disposal area. This can be a trash can, a large garbage bag, or any other appropriate waste container.
Before emptying the contents of the dust bin, open the bottom flap or lid. This will give you easy access to the collected debris and ensure a smooth disposal process. You may need to press a small button or latch to open the flap or lid, depending on the model of your Dyson vacuum.
Carefully pour or shake the contents of the dust bin into a trash bag or bin. Be cautious not to allow any dust or debris to escape and create a mess. Once all the debris is emptied, securely tie or close the trash bag to prevent any odors or dust from spreading.
Cleaning the Dust Bin
After disposing of the debris, it’s essential to clean the dust bin to maintain optimal performance and hygiene. Start by removing any stubborn dirt or debris that may be stuck inside the dust bin. You can use a small brush or tool to loosen and remove these particles.
Next, rinse the dust bin with warm soapy water. Make sure to thoroughly clean the inside of the bin, paying attention to any corners or crevices that may have collected dirt. Use a sponge or cloth to wipe down the interior of the dust bin, ensuring all surfaces are clean.
Once you have finished cleaning, allow the dust bin to air dry completely before reassembling the vacuum. This is important to prevent any moisture from affecting the functionality of the machine. It is recommended to leave the dust bin in a well-ventilated area to ensure expedited drying.
Cleaning the Filters
The filters in your Dyson vacuum play a vital role in capturing and trapping dust and allergens. Regular cleaning of the filters is essential to maintain peak performance. To begin cleaning the filters, locate the filter compartment. Depending on the model of your Dyson vacuum, this can be found on the top or back of the machine.
Once the filter compartment is located, safely remove the filters from their designated slots. Be gentle when handling the filters to avoid any damage.
With the filters removed, clean them under running water. Use your fingers to gently rub off any trapped debris or dirt. It’s important to rinse the filters thoroughly and ensure all signs of dirt are removed.
Drying and Reinstalling the Filters
After cleaning, gently squeeze out any excess water from the filters. Avoid wringing or twisting them, as this may cause damage. It’s crucial to remove as much water as possible to expedite the drying process.
Leave the filters in a well-ventilated area to air dry completely. This process may take several hours, so it’s recommended to clean the filters in advance or have spare filters available for immediate use.
Once the filters are fully dry, reinstall them back into their respective slots in the filter compartment. Ensure that each filter is securely in place to prevent any air leaks or loss of suction power.
Cleaning the Vacuum Brush and Attachments
The brush head and attachments of your Dyson vacuum can accumulate hair, lint, and other debris over time. Regular cleaning of these components is crucial for optimal performance. To clean the brush head or attachments, detach them from the vacuum.
Inspect the brush bristles for any entangled hair or debris. Use a small brush or your fingers to remove any obstructions. It’s important to thoroughly clean all the bristles to ensure the brush head’s effectiveness.
After cleaning the brush head or attachments, wipe them down with a damp cloth to remove any dirt or residue. Ensure all surfaces are clean before reattaching them to the vacuum.
Inspecting and Maintaining the Vacuum
While you have your Dyson vacuum disassembled, take this opportunity to thoroughly inspect and maintain the machine. Check for any clogs or blockages in the vacuum’s hose or other areas. If you notice any obstructions, gently remove them using a small brush or tool.
Additionally, ensure that all parts of the vacuum are tightly secured. Check for loose screws or fittings and tighten them if necessary. Inspect the condition of the vacuum’s exterior for any signs of damage or wear and tear. Address any concerns promptly to prevent further issues.
Reassembling the Dyson Vacuum
With all the necessary cleaning and maintenance tasks completed, it’s time to reassemble your Dyson vacuum. Insert the dust bin back into its original position, aligning it with the vacuum’s body. Ensure that the dust bin locks into place securely before proceeding.
Lastly, plug the vacuum back into a power source and power it on. This confirms that everything is functioning correctly and ready for use.
Regular Maintenance and Emptying Frequency
To keep your Dyson vacuum performing at its best, it’s important to follow the manufacturer’s guidelines for maintenance. This includes emptying the dust bin when it reaches the indicated level. Waiting too long to empty the dust bin can lead to reduced suction power and decreased efficiency.
Additionally, clean the filters periodically to maintain optimal performance. The frequency of filter cleaning may vary depending on the model and usage of your Dyson vacuum. Refer to the manufacturer’s instructions for specific guidance on cleaning intervals.
By following these maintenance practices and emptying your Dyson vacuum regularly, you can ensure its longevity and continued effectiveness in keeping your home clean and dust-free.


