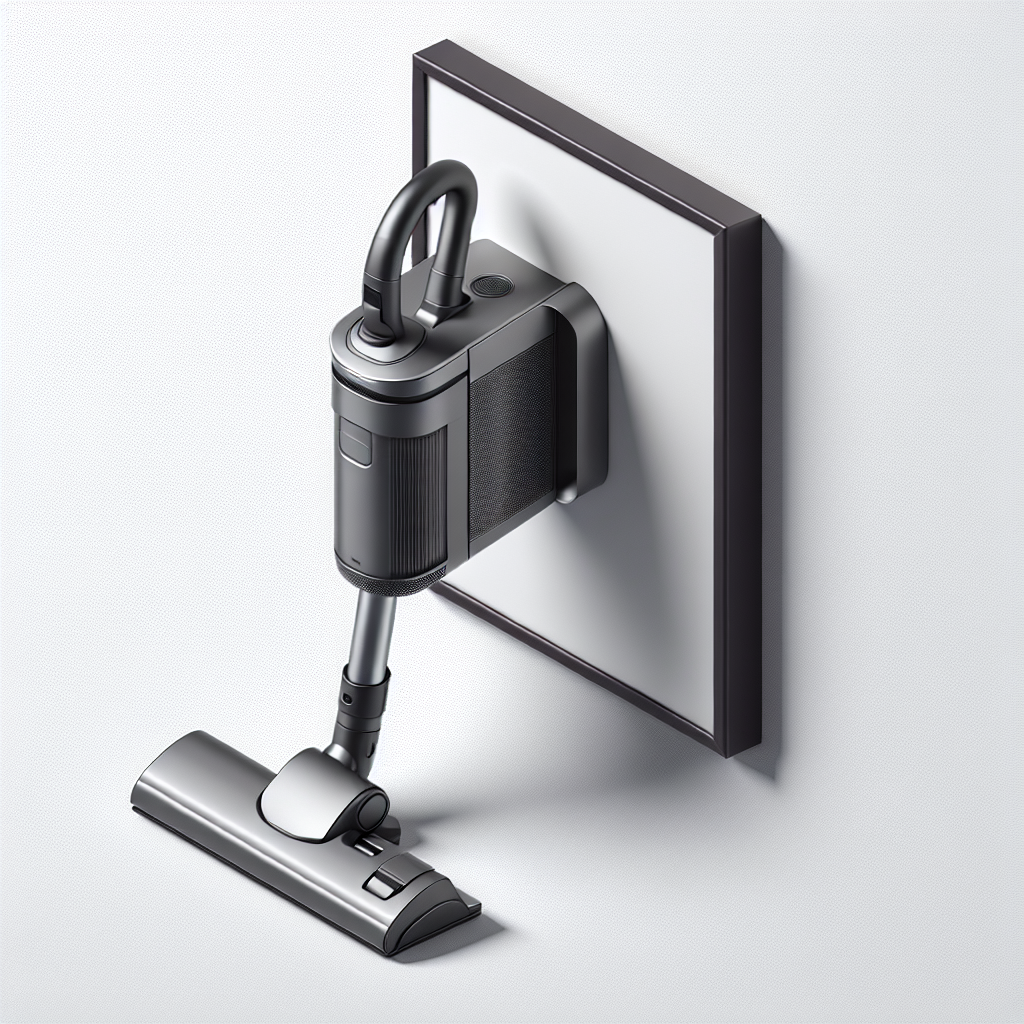
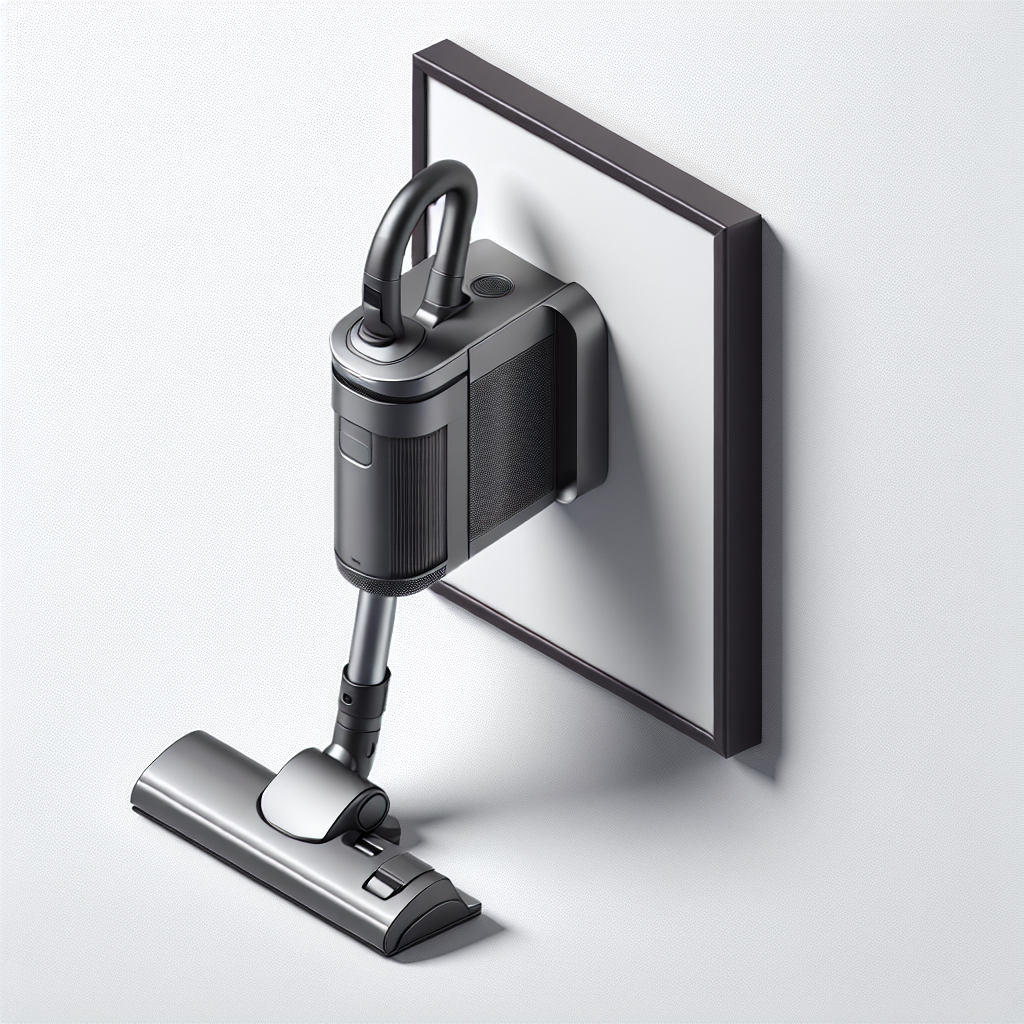
So, you’ve just invested in the impressive Dyson V11 vacuum cleaner and now you’re wondering how to make the most of its sleek design by mounting it on the wall. Well, you’re in luck! In this article, we’ll walk you through the simple and straightforward steps on how to properly mount your Dyson V11 on the wall, allowing you to maximize storage space and keep your valuable cleaning companion within easy reach whenever you need it. No need to worry about cluttered floors or wasted space anymore – let’s get started on transforming your cleaning routine with this handy wall-mounting solution for your Dyson V11.
Preparation
Before you start mounting your Dyson V11 on the wall, there are a few things you need to do to get ready. First, gather all the necessary tools that you will need for the installation. These may include a drill, measuring tape, screwdriver, level, and a pencil. Make sure you have everything within reach before you begin.
Once you have your tools ready, the next step is to choose the location on the wall where you want to mount your Dyson V11. This decision should be based on convenience and accessibility. Consider a spot where the vacuum will be easily accessible for both charging and using. Additionally, make sure there is a nearby power outlet for convenient charging.
Installation Steps
Now that you have gathered your tools and chosen the wall location, it’s time to move on to the installation steps. Follow these instructions carefully to ensure a successful mounting process:
Step 1: Check the package contents
Before you get started, open the Dyson V11 package and check that all the necessary components are included. These may include the wall-mounting bracket, screws, wall anchors, and any additional accessories that come with your specific Dyson V11 model.
Step 2: Identify the mounting bracket
Locate the mounting bracket among the package contents. It is a crucial component that will hold your Dyson V11 securely on the wall. Familiarize yourself with the bracket and ensure you understand its different parts.
Step 3: Assemble the mounting bracket
Now it’s time to assemble the mounting bracket. Follow the instructions provided by Dyson to correctly piece together the different parts of the bracket. This may involve attaching arms, brackets, or other pieces as specified in the manual.
Step 4: Mark the wall for installation
With the mounting bracket assembled, hold it against the chosen wall location. Using a pencil, mark the spots where you will need to drill holes for mounting. Take into consideration the height and position of the bracket to ensure it aligns with your desired level and accessibility.
Step 5: Drill holes on the marked spots
Using a drill, carefully make holes at the marked spots on the wall. The size of the drill bit will depend on the specific wall anchors you are using. Ensure the holes are deep enough to accommodate the wall anchors securely.
Step 6: Insert wall anchors
Next, insert the wall anchors into the drilled holes. These anchors provide stability and support for the mounting bracket. Gently tap them into place using a hammer, making sure they are flush with the wall surface.
Step 7: Attach the mounting bracket to the wall
Align the pre-drilled holes on the mounting bracket with the wall anchors. Insert the screws provided with the bracket into the holes and tighten them using a screwdriver. Ensure the bracket is securely attached to the wall by giving it a gentle tug.
Step 8: Hang the Dyson V11 on the bracket
Once the mounting bracket is securely in place, it’s time to hang your Dyson V11. Take the vacuum cleaner and position it on the bracket, ensuring it aligns with the corresponding grooves or hooks. Carefully slide the Dyson V11 onto the bracket until it fits snugly.
Step 9: Secure the Dyson V11
To ensure that your Dyson V11 stays securely on the wall, follow any additional instructions provided by the manufacturer. These may include using screws or brackets to secure the vacuum cleaner in place. Carefully follow the provided guidelines to keep your Dyson V11 stable and prevent any accidents or mishaps.
Step 10: Organize power cord
Finally, take a moment to organize the power cord of your Dyson V11. It’s important to keep the cord neatly tucked away to avoid any tripping hazards or damage. Consider using cord management clips or hooks to secure the cord along the wall or behind furniture for a tidy appearance.
Considerations
Before you mount your Dyson V11 on the wall, there are a few important considerations to keep in mind. These factors will help ensure a successful and safe installation.
Choosing a suitable wall surface
Selecting the right wall surface is crucial for mounting your Dyson V11. Ideally, choose a solid and flat surface that can withstand the weight and vibrations of the vacuum cleaner. Avoid walls with excessive moisture or uneven textures that may hinder the stability of the mounting bracket.
Stud vs. drywall mounting
Depending on the type of wall you have, you may need to choose between stud or drywall mounting. Studs provide a stronger and more secure support for the mounting bracket. If your wall has studs, it is generally recommended to mount the Dyson V11 directly into them. However, if you have a drywall, you will need to use wall anchors to ensure stability.
Weight capacity and stability
Before mounting your Dyson V11, consider its weight and the weight capacity of the mounting bracket. Ensure that the bracket you have chosen can support the weight of the vacuum cleaner without any issues. This will prevent any accidents or damage caused by an insufficiently sturdy bracket.
Accessibility and convenience
When selecting the wall location for your Dyson V11, prioritize accessibility and convenience. Choose a spot that allows for easy access to the vacuum cleaner. This includes considering the proximity to power outlets for charging and the convenience of reaching the vacuum easily whenever you need it.
Maintenance and Safety
Mounting your Dyson V11 on the wall not only provides convenience but also requires regular maintenance and safety measures. Follow these tips to ensure the longevity and optimal functioning of your vacuum cleaner:
Regularly clean the vacuum
Even though your Dyson V11 is mounted on the wall, it still requires regular cleaning. Make sure to clean the vacuum cleaner as recommended by Dyson, including emptying the dustbin and cleaning the filters. Regular maintenance will ensure that your Dyson V11 continues to perform at its best.
Ensure proper attachment
Periodically check the attachment between the vacuum cleaner and the mounting bracket. Ensure that the Dyson V11 is securely attached and hasn’t loosened over time. A loose attachment can be a safety hazard and may lead to the vacuum falling off the bracket.
Keep out of children’s reach
If you have children at home, it’s essential to keep your mounted Dyson V11 out of their reach. Children may be tempted to play with the vacuum or try to climb on furniture to reach it, leading to accidents or damage. Securely mount the Dyson V11 at a height where it is not easily accessible to young children.
Check for stability
Regularly inspect the stability of your mounted Dyson V11. Ensure that the screws are tight, the wall anchors are secure, and there are no signs of the bracket or vacuum becoming loose. If you notice any instability, take immediate action to rectify the issue and prevent the vacuum from falling off the wall.
By following these installation, maintenance, and safety steps, you can successfully mount your Dyson V11 on the wall. Enjoy the convenience and accessibility of having your vacuum cleaner readily available whenever you need it, while also keeping safety a top priority.


