How To Mount Dyson V12 On Wall
So you’ve recently purchased the powerful and versatile Dyson V12 vacuum cleaner and now you’re wondering how to make the most of your space by mounting it on the wall. Well, you’re in luck! In this article, we’ll walk you through the step-by-step process of mounting your Dyson V12 on the wall, ensuring easy access and efficient storage while keeping your floors clutter-free. Say goodbye to traditio
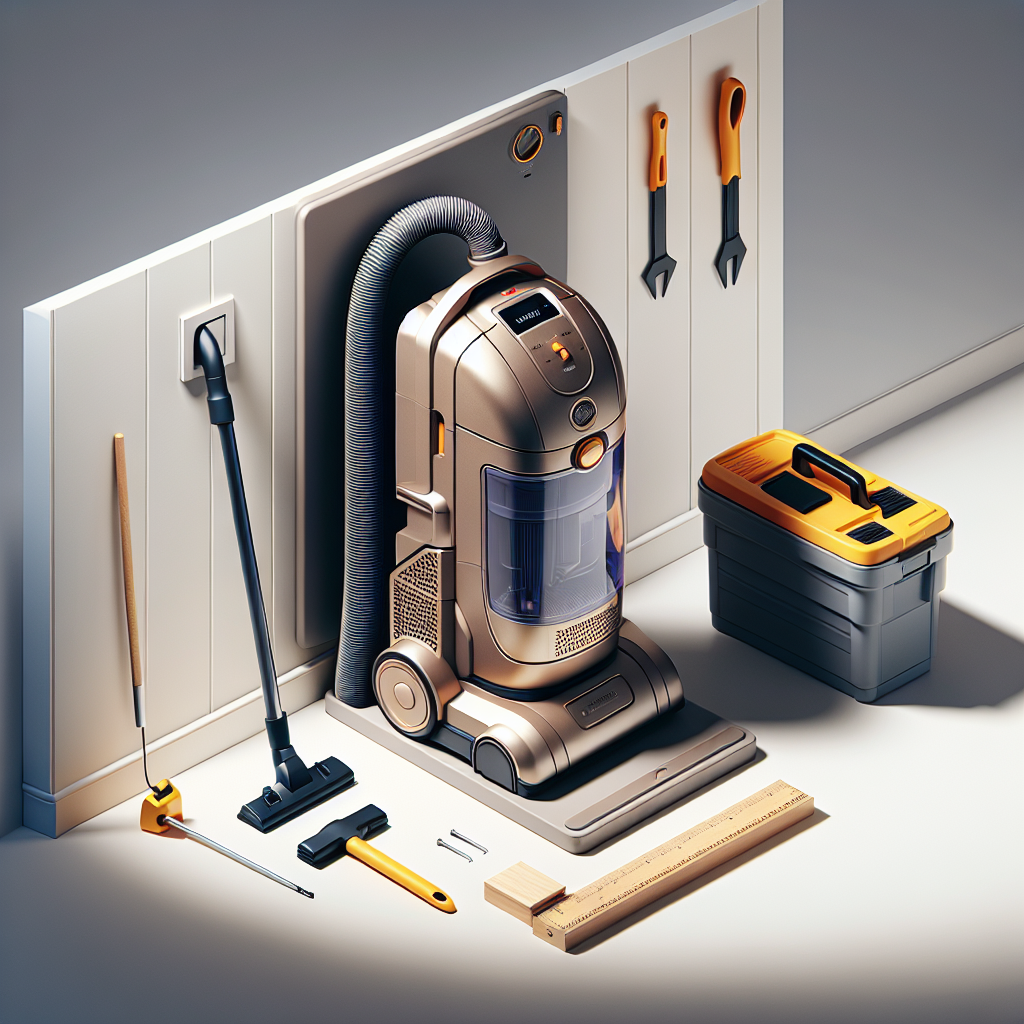
How To Mount Dyson V12 On Wall – Wall Mount Docking Station
Mounting your Dyson V12 cordless vacuum on the wall with a wall mount docking station ensures that it is both conveniently stored and recharged. This article will guide you through the steps to effectively mount your Dyson V12 on the wall and set up the docking station, along with considerations for hiding the cordless vacuum and the tools needed for the process.
What are the steps to mount a Dyson V12 on the wall?
Mounting a Dyson V12 on the wall involves several steps to ensure a secure and efficient setup. It begins with gathering the necessary tools, identifying the mounting location, and preparing the wall for drilling holes.
Step 1: Gathering the necessary tools
Before beginning the mounting process, gather essential tools such as a drill and appropriate drill bits, a level to ensure proper alignment, and wall anchors for stability.
Step 2: Identifying the mounting location
Choose a suitable location on the wall where the Dyson V12 can be securely mounted and accessed conveniently for charging and everyday use.
Step 3: Preparing the wall and drill holes
Once the mounting location is identified, prepare the wall by drilling holes for the wall anchors to secure the docking station in place, ensuring a stable and safe installation.
How to set up the docking station for Dyson V12?
Setting up the docking station for the Dyson V12 involves checking for compatible wall anchors, securely mounting the docking station, and concealing the charging cable for a tidy appearance.
Checking for compatible wall anchors
Ensure that the wall anchors are compatible with the wall material to guarantee a secure attachment for the docking station.
Mounting the docking station securely
Securely attach the docking station to the wall, using the appropriate tools and hardware to ensure stability and reliability of the mounting.
Concealing the charging cable
To maintain a neat and organized setup, carefully conceal the charging cable, ensuring it reaches the dock while preserving a tidy appearance on the wall.
What are the considerations for hiding the cordless vacuum on the wall?
When mounting the Dyson V12 on the wall, consider choosing a discreet wall location, ensuring easy access to the vacuum and securing it in place for both convenience and aesthetics.
Choosing a discreet wall location
Select a location on the wall that is discreet and does not interfere with the overall aesthetics of the space while ensuring the vacuum is conveniently accessible.
Ensuring easy access to the vacuum
Place the vacuum at a comfortable height for easy access and usability, allowing for effortless removal and docking of the V12, enhancing the user experience.
Securing the vacuum in place
Ensure the vacuum is securely mounted and stable on the wall, providing both safety and convenience for its storage and use.
What tools are needed to mount the docking station for Dyson V12?
To effectively mount the docking station for the Dyson V12, specific tools are required to ensure a successful installation process.
Drill and appropriate drill bits
The drill and appropriate drill bits are necessary for creating holes in the wall for the installation of the wall anchors and the mounting of the docking station.
Level to ensure proper alignment
Using a level is crucial to ensure the correct alignment and positioning of the docking station on the wall, preventing any potential issues during the installation.
Wall anchors for stability
Wall anchors provide the necessary stability and support for mounting the docking station securely on the wall, ensuring its reliability and durability.
How to charge the Dyson V12 when mounted on the wall?
Charging the Dyson V12 when mounted on the wall is a straightforward process that involves ensuring the charging cable reaches the dock, plugging the cable into a nearby power outlet, and confirming the vacuum is securely docked and charging.
Ensuring the charging cable reaches the dock
Properly position the charging cable to reach the dock, allowing for efficient and convenient charging of the Dyson V12 without any obstructions or limitations.
Plugging the cable into a nearby power outlet
Connect the charging cable to a nearby power outlet to provide the necessary power for charging the Dyson V12, ensuring it is readily available for use when needed.
Confirming the vacuum is securely docked and charging
Once the vacuum is docked and the charging cable is connected, confirm that the Dyson V12 is securely placed on the dock and is actively charging, maintaining its readiness for use.
nal floor storage, and embrace a more organized and stylish approach to keeping your Dyson V12 within reach.
Choosing the Right Location
Consider the reach of the power cord
When it comes to mounting your Dyson V12 on the wall, one of the first things to consider is the reach of the power cord. You want to ensure that the location you choose allows the cord to comfortably reach the nearest power outlet without any tension or strain. Take into account not only the distance but also any potential obstacles that might impede the cord’s path. By choosing a location with a suitable reach, you can avoid any inconvenience or safety hazards.
Select a sturdy and accessible wall
Another essential factor to consider is selecting a sturdy and accessible wall for mounting your Dyson V12. You want to choose a wall that can support the weight of the vacuum and withstand any vibrations or movements during its operation. Additionally, consider the accessibility of the wall in relation to the areas you usually clean. You want to choose a location that allows for easy access and efficient cleaning without any unnecessary obstructions.
Ensure proper ventilation
Proper ventilation is crucial when mounting your Dyson V12 on the wall. The vacuum generates suction power and can cause heat buildup during operation. To prevent any potential overheating, ensure that the wall you choose has sufficient airflow. Avoid mounting the vacuum in enclosed spaces or areas with restricted ventilation. By ensuring proper ventilation, you can help maintain the longevity and performance of your Dyson V12.
Gathering the Necessary Tools and Materials
To successfully mount your Dyson V12 on the wall, you’ll need to gather the necessary tools and materials. Here’s a list of what you’ll need:
Wall mounting bracket
A wall mounting bracket is essential for securely attaching your Dyson V12 to the wall. Ensure that the bracket is compatible with your vacuum model and features sturdy construction.
Screws and wall anchors
Screws and wall anchors are necessary for securely fastening the wall mounting bracket to the wall. Choose anchors and screws that are appropriate for the type of wall you’re mounting on (such as drywall, concrete, or wood).
Drill and drill bits
A drill and drill bits will be needed to create pilot holes for the screws and anchors. Ensure you have the correct size drill bits for the screws and anchors you’ll be using.
Level
A level will help ensure that your Dyson V12 is properly aligned and mounted straight on the wall. This tool is crucial for achieving a visually pleasing and functional installation.
Screwdriver
A screwdriver will be necessary for tightening the screws and securing the bracket and vacuum in place. Make sure you have a screwdriver that matches the type of screws you’ll be using.
Measuring tape
A measuring tape will come in handy when determining the desired height and location of the wall mounting bracket. It’s important to measure accurately to achieve the best results in terms of placement and functionality.
Preparing the Dyson V12 Vacuum
Before proceeding with the installation, it’s essential to properly prepare your Dyson V12 vacuum. Taking the time to complete these steps will help ensure a smooth and successful mounting process.
Emptying and cleaning the vacuum
Start by emptying the vacuum’s dustbin and cleaning any filters or attachments that require maintenance. It’s important to have a clean and well-functioning vacuum before mounting it on the wall. This way, you can avoid any potential issues or complications during the installation process.
Removing the wand and attachments
Next, remove the wand and any other attachments that are connected to the vacuum. This will make the vacuum more compact and easier to handle during the mounting process. It’s essential to have a streamlined and lightweight vacuum to ensure a secure and stable installation.
Ensuring the vacuum is turned off and unplugged
Before proceeding with any installation steps, it’s crucial to ensure the vacuum is turned off and unplugged from the power source. This step is essential for your safety and to prevent any potential damage to the vacuum or electrical systems. Always prioritize safety when working with any electrical appliances.
Installing the Wall Mounting Bracket
Now that you’ve gathered the necessary tools and materials and prepared your Dyson V12, it’s time to install the wall mounting bracket. Follow these steps for a secure and solid foundation for your wall-mounted vacuum.
Choosing the desired height and location on the wall
Using your measuring tape and considering factors such as reach, cord management, and accessibility, determine the desired height and location for the wall mounting bracket. Measure carefully and mark the position with a pencil or tape to ensure accuracy and ease during the installation process.
Marking the position of the bracket
Once you’ve chosen the desired height and location, mark the position of the bracket on the wall. Use a level to ensure that the marks are straight and aligned. Taking the time to measure and mark accurately will lead to a visually pleasing and functional installation.
Preparing the wall for installation
Before attaching the bracket to the wall, it’s important to prepare the area by clearing any debris or obstructions. Use a brush or cloth to clean the surface and ensure a secure and stable attachment.
Attaching the bracket to the wall
Using your drill and the appropriate drill bit, create pilot holes at the marked positions for the bracket. Insert wall anchors if necessary, and then secure the bracket to the wall using screws. Ensure that the screws are tightened firmly but not overly tightened to avoid damaging the wall or bracket.
Mounting the Dyson V12 on the Wall
With the wall mounting bracket securely installed, it’s time to mount your Dyson V12 on the wall.
Positioning the vacuum onto the wall bracket
Carefully position the vacuum onto the wall bracket, ensuring that it aligns with the mounting points on the vacuum. Take your time to align it properly and avoid any unnecessary rotations or movements.
Securing the vacuum in place
Once the vacuum is properly positioned, use the provided screws or fasteners to secure it to the wall bracket. Make sure the screws are tightened securely but not excessively. Double-check that the vacuum is stable and doesn’t have any wobbling or loose connections.
Verifying the stability of the mount
After securing the vacuum, verify the stability of the mount by gently shaking the vacuum and ensuring it remains firmly attached to the wall. If there are any signs of instability or movement, double-check the screw tightness and the alignment of the bracket and vacuum.
Organizing and Securing the Power Cord
Now that your Dyson V12 is securely mounted on the wall, it’s important to address the organization and security of the power cord.
Determining the best cord management approach
Take a moment to consider the best cord management approach for your specific installation. This will depend on factors such as the distance from the power outlet to the vacuum and any existing walls or furniture that can be used to guide the cord. Think about the aesthetics and functionality of the cord management system you choose.
Using adhesive clips or hooks to secure the cord
Consider using adhesive clips or hooks to secure the power cord along the wall, keeping it tidy and preventing any tripping hazards. These clips or hooks can be easily attached to the wall and provide a secure and organized solution for managing the cord.
Avoiding excessive tension or strain on the cord
When organizing the power cord, make sure to avoid creating any excessive tension or strain. This can be achieved by ensuring the cord has a natural flow and avoiding sharp bends or pulls. Excessive tension or strain can lead to unnecessary wear and tear on the cord and potentially affect its performance and safety.
Testing and Adjusting the Wall Mount
Once you’ve organized and secured the power cord, it’s crucial to test and make any necessary adjustments to the wall mount.
Testing the stability and functionality of the mount
After completing the installation and cord management, test the stability and functionality of the wall mount. Gently shake the vacuum, ensuring it remains securely attached to the wall. Turn on the vacuum to verify that it works properly and assess any potential noise or vibration issues.
Adjusting the position and angle of the vacuum
If necessary, make any adjustments to the position and angle of the vacuum. Ensure that it is aligned correctly for optimal cleaning performance. Use your level to confirm that the vacuum is mounted straight and aligned with the wall.
Ensuring the wand and attachments can be easily accessed and stored
Lastly, verify that the wand and attachments can be easily accessed and stored while the vacuum is mounted on the wall. Test the functionality of the attachments and ensure that they can be easily connected and disconnected. Proper accessibility and storage of these components are essential for convenience and efficient cleaning.
Final Steps and Safety Precautions
After completing the installation and testing, there are a few final steps and safety precautions to keep in mind.
Reattaching the wand and necessary attachments
Carefully reattach the wand and any necessary attachments to the vacuum. Ensure they are properly secured and aligned for optimal cleaning performance. Double-check that all connections are tight and secure.
Ensuring all screws and fasteners are tightened
Take a moment to ensure that all screws and fasteners used during the installation are properly tightened. This step will help maintain the stability and durability of the wall mount over time. Check the screws connecting the wall bracket to the wall, as well as any screws securing the vacuum to the bracket.
Removing any debris near the vacuum
Clean up any debris or dust that may have accumulated during the installation process. This will help keep the area surrounding the wall-mounted vacuum clean and prevent any potential issues or obstructions during use.
Reconnecting the vacuum to power
After ensuring everything is securely in place, reconnect the vacuum to the power source. Check that the vacuum turns on and functions properly. It’s always a good idea to double-check the power connection and any controls or settings before using the wall-mounted vacuum.
Maintenance and Cleaning of the Wall-Mounted V12
To keep your wall-mounted Dyson V12 in optimal condition, regular maintenance and cleaning are essential.
Regularly cleaning the vacuum and attachments
Just like any other vacuum, it’s important to regularly clean your Dyson V12 and its attachments. Follow the manufacturer’s instructions for cleaning and maintenance to prolong the life and performance of the vacuum. Pay attention to filters, brushrolls, and any other components that require regular cleaning or replacement.
Checking the integrity of the mount and wall bracket
Periodically check the integrity of the mount and wall bracket. Look for any signs of loosening screws, wobbling, or instability. If you notice any issues, tighten the screws or seek professional help if needed. It’s important to ensure the wall-mounted vacuum remains securely attached to the wall for safe and efficient operation.
Monitoring and addressing any potential issues
Keep an eye out for any potential issues that may arise with your wall-mounted Dyson V12. This includes monitoring for abnormal noise, decreased suction power, or any other signs of malfunction. Address any problems promptly by referring to the user manual or contacting Dyson customer support. Taking proactive measures will help maintain the performance and longevity of your wall-mounted vacuum.
Conclusion
By carefully choosing the right location, gathering the necessary tools and materials, and following a step-by-step process, you can successfully mount your Dyson V12 on the wall. Ensure proper preparation of the vacuum, installation of the wall mounting bracket, and organization of the power cord. Test and adjust the wall mount for stability and functionality. Finally, prioritize regular maintenance and cleaning to enjoy the benefits of a wall-mounted vacuum. With these steps and safety precautions in mind, you can embark on a seamless and efficient wall mounting journey for your Dyson V12, enhancing both the aesthetics and functionality of your cleaning routine.
Q: How do I mount a Dyson V12 on the wall using a wall mount docking station?
A: To mount a Dyson V12 on the wall, first, locate a suitable location on the wall near a power outlet. Then, use the provided template to mark the drill holes. After that, drill the holes, insert wall plugs, and securely mount the docking station. Finally, attach the vacuum to the docking station, ensuring it clicks into place.
Q: Can I use drywall anchors to mount the Dyson V12 docking station?
A: Yes, you can use drywall anchors to mount the docking station, provided they are of suitable size and weight capacity to support the vacuum and docking station.
Q: Where can I find a step-by-step guide on mounting a Dyson V12 on the wall?
A: You can find a step-by-step guide on how to mount a Dyson V12 on the wall through the official Dyson website, as well as their YouTube channel. The guide will walk you through the process with detailed instructions and visual aids.
Q: What do I do if I encounter difficulties during the mounting process?
A: If you encounter difficulties during the mounting process, it is recommended to consult the instruction manual, reach out to Dyson customer support, or seek advice from a professional to ensure the correct and safe installation of the docking station.
Q: Can the Dyson V12 docking station be mounted in a closet or concealed area?
A: Yes, the Dyson V12 docking station can be mounted in a closet or concealed area, as long as there is sufficient space and ventilation for the vacuum and charging capabilities.
Q: Is there a specific model of wall mount docking station designed for the Dyson V12?
A: Yes, Dyson offers a specific wall mount docking station designed for the Dyson V12 cordless vacuum. It is recommended to use the designated docking station for optimal compatibility and performance.
Q: Can I find a transcript or description of how to mount a Dyson V12 on the wall?
A: Yes, you can find a transcript or detailed description of how to mount a Dyson V12 on the wall on Dyson’s official website and YouTube channel. These resources provide comprehensive information to assist you in the process.